
In my last post, we looked at how OAuth 2.0 works and examined how to generate access tokens and refresh tokens. Now we’re diving into how to store tokens in your front-end.
Access tokens are usually short-lived JWT Tokens that are signed by your server and are included in every HTTP request to your server to authorize the request. Refresh tokens are usually long-lived opaque strings that are stored in your database and used to get a new access token when it expires.
Where should I store my tokens in the front-end?
There are two common ways to store your tokens. The first is in localStorage and the second is in cookies. There is a lot of debate over which one is better with most people leaning toward cookies as they are more secure.
Let’s go over the comparison between localStorage and cookies. This article is mainly based on this article and the comments on this post.
Local Storage

Pros: It’s convenient.
- It’s pure JavaScript and it’s convenient. If you don’t have a back-end and you’re relying on a third-party API, you can’t always ask the third-party API to set a specific cookie for your site.
- Works with APIs that require you to put your access token in the header, like this:
Authorization Bearer ${access_token}.
Cons: It’s vulnerable to XSS attacks.
An XSS attack happens when an attacker can run JavaScript on your website. This means that the attacker can take the access token that you stored in your localStorage. An XSS attack can happen from a third-party JavaScript code included in your website like React, Vue, jQuery, Google Analytics, etc. It's almost impossible not to include any third-party libraries in your site.
httpOnly Cookies
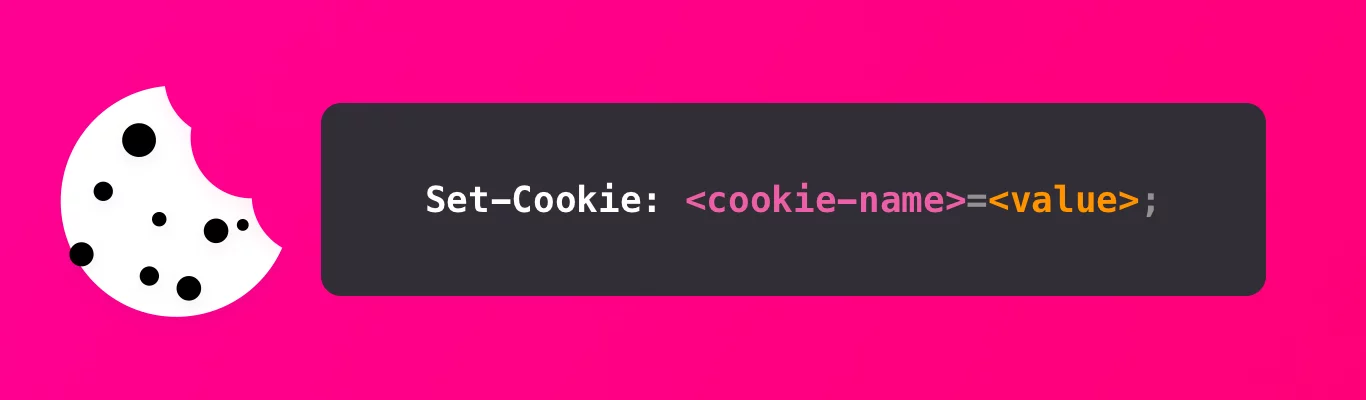
Pros: The cookie is not accessible via JavaScript; hence, it is not as vulnerable to XSS attacks as **localStorage**.
- If you’re using
httpOnlyandsecurecookies this means that your cookies cannot be accessed using JavaScript so even if an attacker can run JS on your site, they can't read your access token from the cookie. - It’s automatically sent in every HTTP request to your server.
Cons: Depending on the use case, you might not be able to store your tokens in the cookies.
- Cookies have a size limit of 4KB. Therefore, if you’re using a big JWT Token, storing in the cookie is not an option.
- There are scenarios where you can’t share cookies with your API server or the API requires you to put the access token in the authorization header. In this case, you won’t be able to use cookies to store your tokens.
About XSS Attack

Local storage is vulnerable because it’s easily accessible using JavaScript and an attacker can retrieve your access token and use it later. However, while httpOnly cookies are not accessible using JavaScript, this doesn't mean that by using cookies you are safe from XSS attacks involving your access token.
If an attacker can run JavaScript in your application then they can just send an HTTP request to your server which will automatically include your cookies; It’s just less convenient for the attacker because they can’t read the content of the token although they rarely have to. It might also be more advantageous for the attacker to attack using the victim’s browser (by just sending that HTTP request) rather than using the attacker’s machine.
Cookies and CSRF Attack
A CSRF attack is an attack that forces a user to do an unintended request. For example, if a website is accepting an email change request via:
POST /email/change HTTP/1.1
Host: site.com
Content-Type: application/x-www-form-urlencoded
Content-Length: 50
Cookie: session=abcdefghijklmnopqrstu

email=myemail.example.com
Then an attacker can easily make a form in a malicious website that sends a POST request to https://site.com/email/change with a hidden email field and the session cookie will automatically be included.
However, this can be mitigated easily using sameSite flag in your cookie and by including an anti-CSRF token.
Cookie is preferable compared to localStorage
Although cookies still have some vulnerabilities, it’s preferable compared to localStorage whenever possible. Why?
- Both
localStorageand cookies are vulnerable to XSS attacks, but it's harder for the attacker to do the attack when you're usinghttpOnlycookies. - Cookies are vulnerable to CSRF attacks, but it can be mitigated using
sameSiteflag and anti-CSRF tokens. - You can still make it work, even if you need to use the
Authorization: Bearerheader or your JWT is larger than 4KB.
This is also consistent with the recommendation from the OWASP community:
Do not store session identifiers in local storage as the data is always accessible by JavaScript. Cookies can mitigate this risk using the httpOnly flag.
– OWASP: HTML5 Security Cheat Sheet

So, how do I use cookies to persists my OAuth 2.0 tokens?
For a recap, here are the different ways you can store your tokens:
- Option 1: Store your access token in
localStorage(and refresh token in eitherlocalStorageorhttpOnlycookies): the access token is prone to be stolen from an XSS attack. - Option 2: Store your access token and refresh token in
httpOnlycookie: prone to CSRF but can be mitigated, a bit better in terms of exposure to XSS. - Option 3: Store the refresh token in
httpOnlycookie: safe from CSRF, a bit better in terms of exposure to XSS.
We'll go over how Option 3 works as it is the best out of the 3 options.
Store your access token in memory, and store the refresh token in the cookie:
Storing your access token in memory means that you just put it in a variable (like
const accessToken = XYZ) instead of putting it inlocalStorageorcookies
Why is this safe from CSRF?
Yes, a form submit to /refresh_token would work and a new access token will be returned, but the attacker can't read the response if they're using an HTML form. To prevent the attacker from successfully making a fetch or AJAX requests and read the response, this requires the Authorization Server's CORS policy to be set up correctly to prevent requests from unauthorized websites.
So how does this set up work?
Step 1: Return Access Token and Refresh Token when the user Authenticates.
After the user authenticates, the Authorization Server will return an access_token and a refresh_token. The access_token will be included in the Response body, the refresh_token will be included in the cookie.
Refresh Token cookie setup:
- Use the
httpOnlyflag to prevent JavaScript from reading it. - Use the
secure=trueflag so it can only be sent over HTTPS. - Use the
SameSite=strictflag whenever possible to prevent CSRF. This can only be used if the Authorization Server has the same site as your front end. If this is not the case, your Authorization Server must set CORS headers in the backend or use other methods to ensure that the refresh token request can only be done by authorized websites.
Step 2: Store the access token in memory
Storing the token in-memory means that you put this access token in a variable in your front-end site (like const accessToken = xyz). Yes, this means that the access token will be gone if the user switches tabs or refreshes the site. That’s why we have the refresh token. We're not putting this access token in localStorage or cookie via JavaScript because it's easier for attackers to dump that data, making it more prone to be stolen via an XSS attack.
Step 3: Renew access token using the refresh token
When the access token is gone or is expired, hit the /refresh_token endpoint, and the refresh token that was stored in the cookie in step 1 will be included in the request. You'll get a new access token now, and can then use that for your API Requests. This means your JWT Token can be larger than 4KB, and you can also put it in the Authorization header.
That’s It!
This should cover the basics and help you secure your site.
Resources
We referred to several articles when writing this blog, especially from these articles:
- Please Stop Using Local Storage
- The Ultimate Guide to handling JWTs on front-end clients (GraphQL)
- Cookies vs Localstorage for sessions — everything you need to know
Questions & Feedback
If you need help or have any feedback, please feel free to comment here!